[fusion_builder_container hundred_percent=”no” equal_height_columns=”no” menu_anchor=”” hide_on_mobile=”small-visibility,medium-visibility,large-visibility” class=”” id=”” background_color=”” background_image=”” background_position=”center center” background_repeat=”no-repeat” fade=”no” background_parallax=”none” parallax_speed=”0.3″ video_mp4=”” video_webm=”” video_ogv=”” video_url=”” video_aspect_ratio=”16:9″ video_loop=”yes” video_mute=”yes” overlay_color=”” video_preview_image=”” border_color=”” border_style=”solid” padding_top=”” padding_bottom=”” padding_left=”” padding_right=”” type=”legacy”][fusion_builder_row][fusion_builder_column type=”1_1″ layout=”1_1″ background_position=”left top” background_color=”” border_color=”” border_style=”solid” border_position=”all” spacing=”yes” background_image=”” background_repeat=”no-repeat” padding_top=”” padding_right=”” padding_bottom=”” padding_left=”” margin_top=”0px” margin_bottom=”0px” class=”” id=”” animation_type=”” animation_speed=”0.3″ animation_direction=”left” hide_on_mobile=”small-visibility,medium-visibility,large-visibility” center_content=”no” last=”true” min_height=”” hover_type=”none” link=”” border_sizes_top=”” border_sizes_bottom=”” border_sizes_left=”” border_sizes_right=”” first=”true”][fusion_text columns=”” column_min_width=”” column_spacing=”” rule_style=”default” rule_size=”” rule_color=”” content_alignment_medium=”” content_alignment_small=”” content_alignment=”” hide_on_mobile=”small-visibility,medium-visibility,large-visibility” sticky_display=”normal,sticky” class=”” id=”” font_size=”” fusion_font_family_text_font=”” fusion_font_variant_text_font=”” line_height=”” letter_spacing=”” text_color=”” animation_type=”” animation_direction=”left” animation_speed=”0.3″ animation_offset=””]
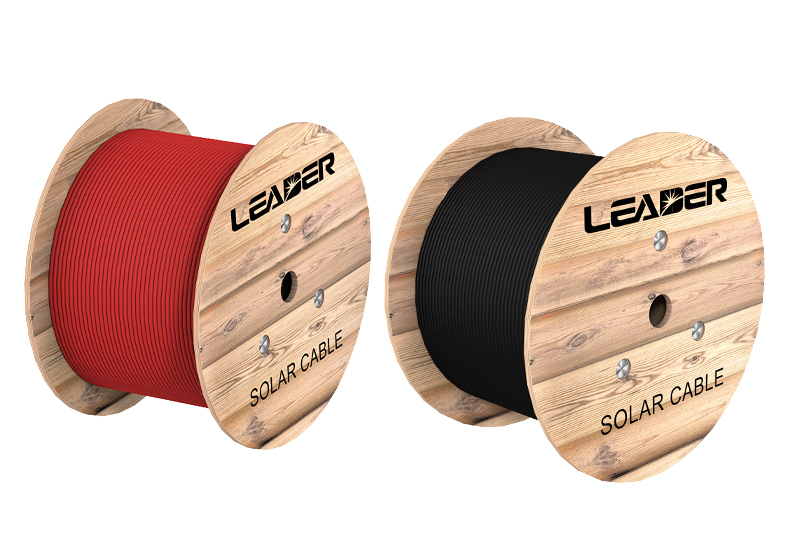
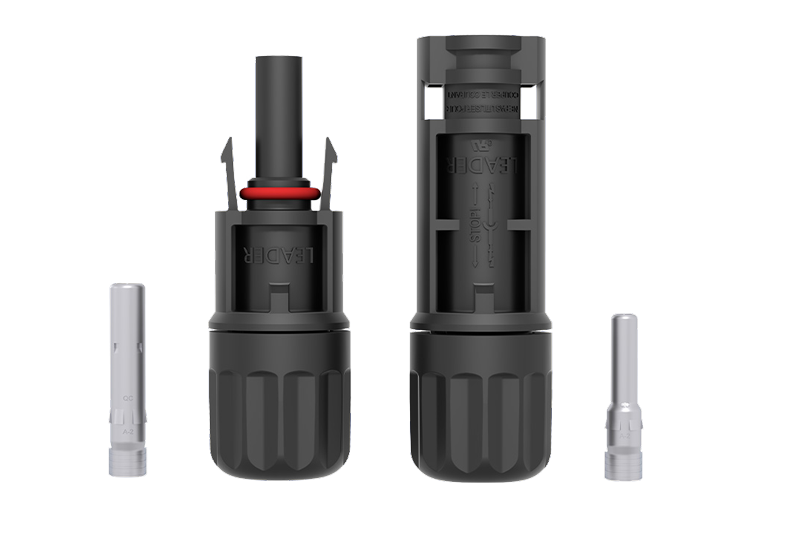
LEADER TECH solar panels come with approximately 3ft of Positive (+) and Negative (-) wire connected to the junction box. At the other end of each wire is an solar connector, designed to make wiring solar arrays much simpler and faster. The Positive (+) wire has a Female solar Connector and the Negative (-) wire has a Male solar Connector that snap together forming a connection suitable for outdoor environments.
Specifications
| Mating Contacts | Copper, Tin plated, <0.5mȍ Resistance |
| Rated Current | 30 A |
| Rated Voltage | 1000V (TUV) 600V (UL) |
| Ingress Protection | IP67 |
| Temperature Range | -40°C to +85°C |
| Safety | Class II, UL94-V0 |
| Suitable Cable | 10, 12, 14 AWG |
[/fusion_text][/fusion_builder_column][/fusion_builder_row][/fusion_builder_container][fusion_builder_container hundred_percent=”yes” overflow=”visible” type=”legacy”][fusion_builder_row][fusion_builder_column type=”1_1″ layout=”1_1″ background_position=”left top” background_color=”” border_color=”” border_style=”solid” spacing=”yes” background_image=”” background_repeat=”no-repeat” padding_top=”” padding_right=”” padding_bottom=”” padding_left=”” margin_top=”0px” margin_bottom=”0px” class=”” id=”” animation_type=”” animation_speed=”0.3″ animation_direction=”left” hide_on_mobile=”no” center_content=”no” min_height=”none” last=”true” hover_type=”none” link=”” border_position=”all” align_self=”flex-start” border_sizes_top=”” border_sizes_bottom=”” border_sizes_left=”” border_sizes_right=”” first=”true”][fusion_text columns=”” column_min_width=”” column_spacing=”” rule_style=”default” rule_size=”” rule_color=”” content_alignment_medium=”” content_alignment_small=”” content_alignment=”” hide_on_mobile=”small-visibility,medium-visibility,large-visibility” sticky_display=”normal,sticky” class=”” id=”” font_size=”” fusion_font_family_text_font=”” fusion_font_variant_text_font=”” line_height=”” letter_spacing=”” text_color=”” animation_type=”” animation_direction=”left” animation_speed=”0.3″ animation_offset=””]
[2.5, 4.0, 6.0mm2]
Components
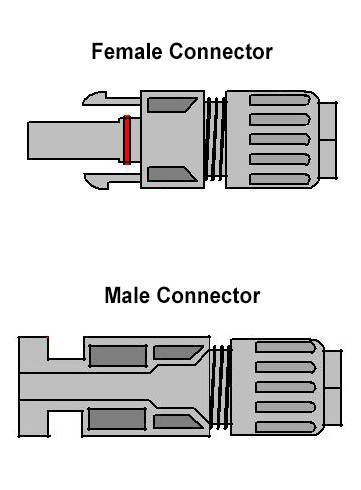 |
1.Female Insulated Connector Housing 2.Male Insulated Connector Housing 3.Housing Nut with internal rubber bushing/cable gland (seals wire entry) 4.Female Mating Contact 5.Male Mating Contact 6.Wire Crimp Area 7.Locking Tab 8.Locking Slot – Unlock Area (press to release) |
Assembly
| LEADER TECH’S solar connectors are compatible for use with AWG #10, AWG #12, or AWG #14 wire/cable with an outer insulation diameter between 2.5 and 6.0 mm. |
| 1)Strip 1/4d of the insulation from the cable end to be terminated with the solar connector using a wire stripper. Be careful not to nick or cut the conductor.
2)Insert the bare conductor into the crimping area (Item 6) of the metallic mating contact and crimp using a special purpose crimping tool. If a crimping tool is not available the wire may be soldered into the contact. 3)Insert the metallic mating contact with the crimped wire through the Housing Nut and rubber bushing (Item 3) and into the insulated housing, till the metallic pin fits snug into the housing. 4)Tighten the Housing Nut (Item 3) onto the connector housing. When the nut is tightened, the internal rubber bush is compressed around the outer jacket of the cable and thus, provides water-tight sealing. |
Installation
- Push the Two Connector pairs together such that the two locking tabs on the solar Female Connector (Item 7) align with the two corresponding locking slots on the solar Male Connector (Item 8). When the two connectors are coupled, the locking tabs slide into the locking slots and secure.
- To uncouple the two connectors, press the ends of the locking tabs (Item 7) as they appear in the open locking slot (Item 8) to release the locking mechanism and pull the connectors apart.
- Make sure that no current is flowing when uncoupling is attempted.
Warning
💡 When the surface of a solar panel is exposed to sunlight, a DC voltage appears at the output terminals turning it into a live voltage source that may produce electrical shock.
💡 To avoid any electrical shock hazard during assembly/installation, make sure that the solar panel is not exposed to sunlight or is covered to block any solar irradiation.
[/fusion_text][/fusion_builder_column][/fusion_builder_row][/fusion_builder_container]