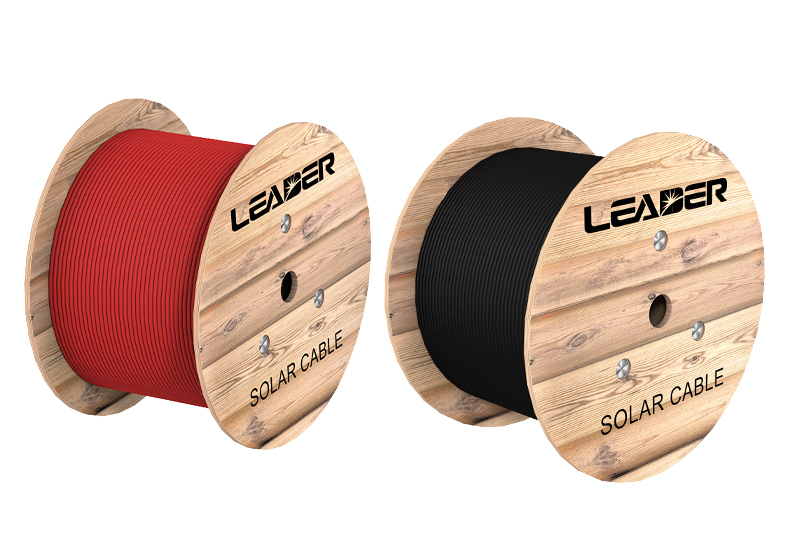
Terminating Solar Connectors

Date:2016-5-4

Solar PV Connectors

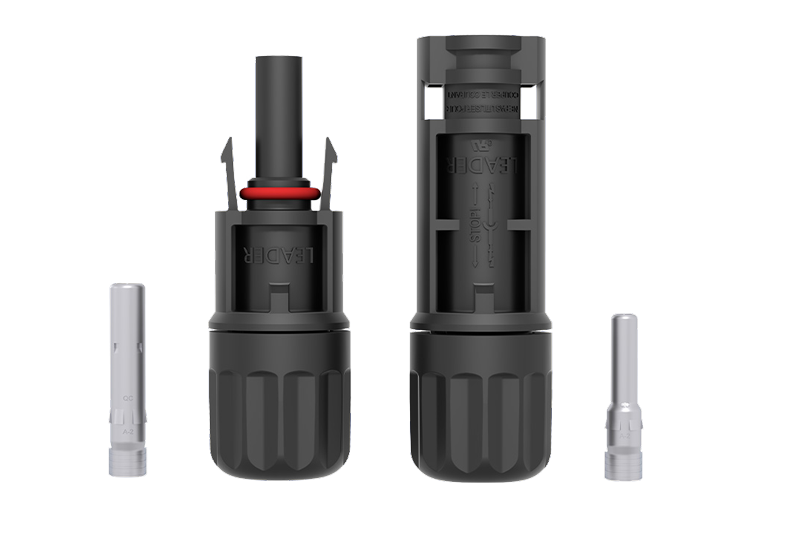
These are solar connectors the FEMALE on the bottom and the MALE plug on top. Today more and more solar panels are shipping with MC-4 terminals and less and less with actual junction boxes. I still personally prefer a water tight j-box, and water tight gland nut, but not all panels ship that way.

The solar connectors are UL rated for 600V and up to 50A of maximum current. They also range from IP65 to IP68 rated (depends upon brand) which means they are fully “dust & water jet tight” (IP65) and can be submersed to 1 meter for 1 hour and still retain water resistance (IP68). The Solar connectors are available in 14, 12, 10 & 8GA sizes.
 
 
Cable Sizing:
14GA = 22.5A
12GA = 37A
10GA = 43A
8GA = 50A
 

They work quite well but on boats, but if not carefully installed, they can be a tad bulky and prone to being caught on things. That said, they are one of the better water tight electrical connections available for marine use. You don’t have to use them only on solar connections and they could certainly be used for other applications.

Like any other project on boats this project will add yet another tool to your tool box.
Solar FEMALE / + Positive

These are the individual pieces of the FEMALE solar connector:

From Left to Right:

-Compression Nut

-Gland Compressing Ring

-Water Tight Sealing Gland

-Solar FEMALE Crimp Terminal

-Solar FEMALE Plug Body
 
Solar MALE / – Negative
These are the individual pieces of the MALE Solar connector:
From L to R:
 

-Compression Nut

-Gland Compressing Ring

-Water Tight Sealing Gland

-Solar MALE Crimp Terminal

-Solar MALE Plug Body
 
FEMALE & MALE
 
The FEMALE terminal on the left is ready to connect to the MALE terminal on the right.
FEMALE & MALE
Insert FEMALE into MALE

I know it is confusing, the FEMALE vs. MALE with Solar Connector’s, because the one on the left clearly looks like a MALE and the one on the right clearly looks like a FEMALE.

The terminology relates to the crimp terminals inside the plugs not the body of the plugs. The plug on the right has the small male “pin” and the plug on the left has the FEMALE barrel/receptacle.
Insert FEMALE into MALE
Press & Snap Closed
 
You just press them together until the “snap” closed.
Press & Snap Closed
solar Assembly & Disassembly Tool
 
These are the solar assemble and disassemble tools. They are inexpensive and worth having especially for taking the terminals apart after they have been closed.
 
solar Crimp Dies
 

OK here’s where the extra tool cost comes into play. You will need a crimp tool for these terminals. However, as usual, I have located a very good value in an solar crimping tool. A pro who does this every day for a living would not use this tool because it is more tedious and time consuming than the more expensive pro-grade versions, but for the money this tool preforms very, very well.

I bought this connector die set and crimping frame from Pro’s Kit and while their dies can be rather sloppy and inconsistent, & some dies absolutely abhorrent, their connector crimp die has been decent and remained fairly consistent.

All together the crimp frame and die set will run you $51.52 a real steal for an connector crimp tool.
MC4 Crimp Dies
connector Crimp Dies Closed
 
Like a D-Sub crimp tool the connector dies from Pro’s Kit make a “butt-cheek” or “B” type crimp. The die set is sized for 10, 12 & 14 AWG wire as well as 2.5 mm², 4 mm² and 6 mm² wire.
MC4 Crimp Dies Closed
Strip Outer Jacket From Cable
 

I will sometimes use a two conductor untinned round cable such as an SO type wire for the external connections to the solar panel but most often a tinned marine grade wire.. Inside these terminals the tinned wire is not as critical as with open style crimps. I almost always use 10/2 or 8/2 wire from the panel to deck if using connector’s. Once through a deck gland and into the vessel you can switch to a larger GA wire to minimize voltage drop.

Here I have stripped back the outer jacket of the wire exposing the inner 10GA conductors.
Strip Outer Jacket From Cable
Slide Heat Shrink Over Cable
To give the wire a nice finished look and feel I slide some heat shrink over the wire before I install the terminals.
 
Slide connector Parts Over Cable
Next, slide on the compression nut, compressing clamp and watertight seal in this order.
Slide MC4 Parts Over Cable
Strip The Wire
Now strip back about 1/4″ +/- of wire being very careful not to damage any strands.
Strip The Wire
Check Your Strip Depth
Insert the stripped wire into the crimp terminal and check your strip depth.
I prefer to have the stripped wire extend into the barrel of the terminal a bit so it does not “fan out” when crimped and create issues when inserting it into the plug.
Check Your Strip Depth
Insert Terminal Into Crimp Tool Dies
Now you’re ready to place the terminal into the crimp tool dies. The open end of the terminal faces up towards the “butt cheeks” so it can be rolled over and formed to execute the crimp.
It helps to compress the crimp frame a couple of clicks. This will hold the terminal as shown and you can then insert the wire and finally squeeze the handle to complete the crimp.
Insert Terminal Into Crimp Tool Dies
Crimped Terminal
For an inexpensive connector crimp tool it really makes a nice strong crimp. This picture illustrates why I like to see the stripped wire extend into the barrel slightly. If it does not extended into the barrel of the terminal it can “fan out” and make inserting it into the plug difficult.
Crimped Terminal
Insert Terminal Into Plug
Once you’ve crimped the wire to the terminal you can then insert the terminal into the connector plug body.
Insert Terminal Into Plug
Press Until It Clicks
Keep pressing the crimped terminal into the plug body until you feel it “click” into place. With some connector terminals this is less obvious than with others.
Don’t worry about mixing up the terminals and plug bodies because male & female pins will not fit into the wrong plug bodies.
Bear in mind that solar panels ship with the female plug shown here, marked +, on the positive output lead from the solar panel. This means the positive wire on your boat will get the corresponding male plug not another female plug.
Press Until It Clicks
Slide Sealing Gland Into The Plug Body
Once the terminal has been clicked into place slide the sealing gland and compression gland up the wire and into the plug. The gray colored sealing gland (not all brands use gray) should be “in” the terminal as shown here.
Slide Sealing Gland Into The Plug Body
Thread On Compressing Nut & Tighten
Thread the nut on finger tight then snug it up, as shown, using the connector tool.
Thread On Compressing Nut & Tighten
Finished Solar Plug
Here’s a finished Solar connector.
Good luck with your project!
Finished MC4 Plug
 

Key pillars for shining success

As a manufacturing and solutions-driven company, Leadergroup has supported some of the world’s largest and most challenging solar power plants. From consulting and design, construction to maintenance, our global team of PV experts will ensure your system is optimally connected for maximum efficiency, safety and profitability.

We connect solar power for a sustainable world

The success of any solar photovoltaic (PV) plant comes down to reliable, efficient and long-term performance. With Leadergroup Renewable Energy as your partner, you benefit from our high precision solutions and decades of experience harnessing solar energy.

Curious to know more?

To find out more information about our products and services, send us a message and one of our PV experts will get back to you. We look forward to assisting you via online live chat.

Contact Us